


Step-by-Step Addition Guide for Homeowners and Owners

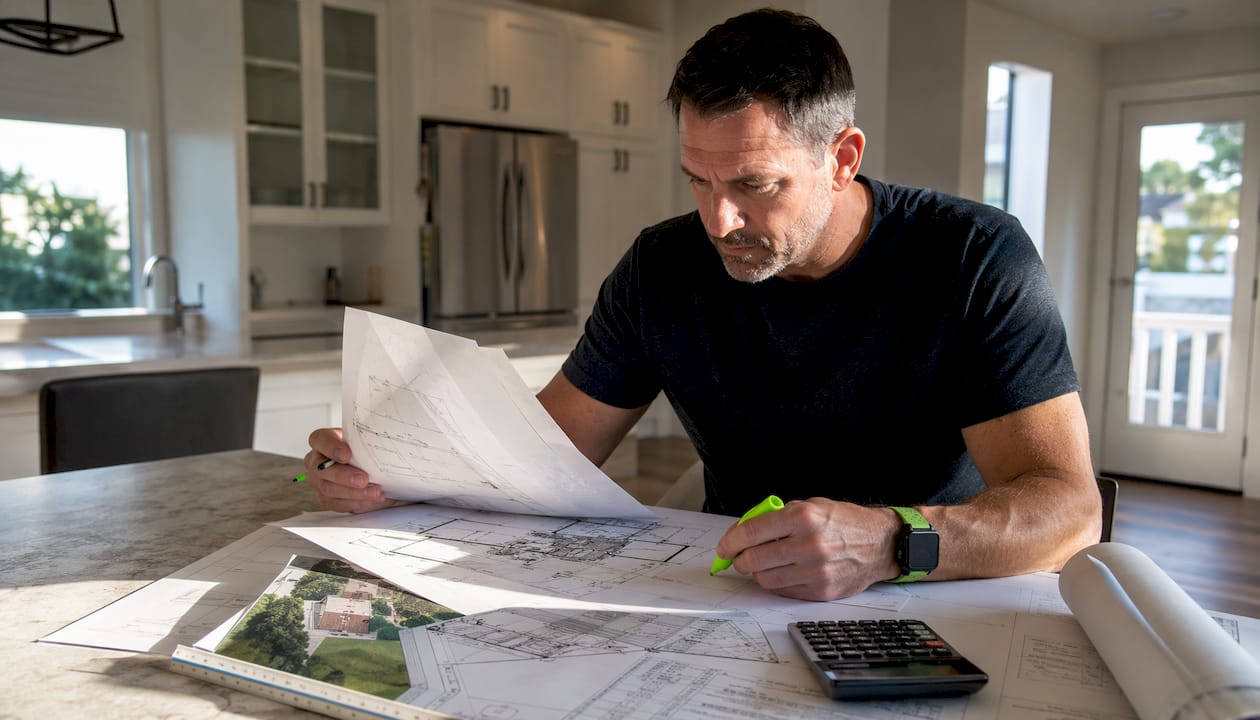
Follow this step-by-step addition guide to plan, permit, and build an addition you can realistically afford and get approved. Start by confirming your zoning constraints with your local building department, then set a budget with a 15–20% contingency before a single drawing is commissioned.
Quick-start checklist:
Verify setbacks, lot coverage, and Floor Area Ratio (FAR) with your local zoning office
Set a realistic budget band and add a contingency to cover unexpected costs
Hire a designer or architect and commission permit-ready drawings
Submit a complete permit application with all required documents
Solicit at least two contractor bids and compare scope line by line
Schedule inspections at each required phase and obtain your Certificate of Occupancy (CO)
Djcustomcontracting has guided homeowners and business owners through this exact process since 2018, handling everything from DOB filings to final walkthroughs.
Table of Contents
Is an addition right for you, and which type fits your situation?
Step-by-step process from planning to certificate of occupancy
What should you expect from permits, codes, and inspections?
How do you select and contract with the right general contractor?
Djcustomcontracting handles additions from first permit to final walkthrough
Useful resources for permits, zoning, and local code research
Is an addition right for you, and which type fits your situation?
Define the problem before you commit to a solution. If you need a dedicated home office, a bump-out may be all you need. If you need a full in-law suite, a ground-floor addition or garage conversion is a more realistic scope. Matching the addition type to the actual need prevents over-building and keeps costs in range.
Common addition types and when each makes sense:
Bump-out: Extends one room by a few feet; ideal for a larger kitchen or bathroom without major structural work
Full ground-floor addition: Adds a new room or suite; suits families needing a bedroom, office, or accessible living space
Second-story addition: Maximizes square footage on a small lot; requires structural reinforcement of the existing foundation and framing
Garage conversion: Converts existing enclosed space to living area; lower cost but may require zoning approval and utility upgrades
In-law suite: A self-contained unit; triggers additional code requirements for egress, ventilation, and sometimes a separate meter
Early decision checklist before you spend on drawings:
Site constraints: lot size, setbacks, easements, and FAR limits
Intended use and occupancy type (residential vs. commercial)
Budget band: basic, mid-range, or premium
Target timeline and seasonal considerations
HOA rules, historic district overlays, or deed restrictions
For regional guidance on addition types and scope decisions, Djcustomcontracting publishes practical resources tailored to Northeast U.S. property owners.
Step-by-step process from planning to certificate of occupancy
Most home-addition projects fail in the planning phase; following a defined sequence prevents costly rework. Here are the canonical steps in order:
Define your goals and program. Write down the required square footage, intended use, and must-have features. This document drives every decision that follows.
Check zoning and property constraints. Confirm setbacks, lot coverage limits, and FAR with your local building or zoning department. Do this before paying for full drawings.
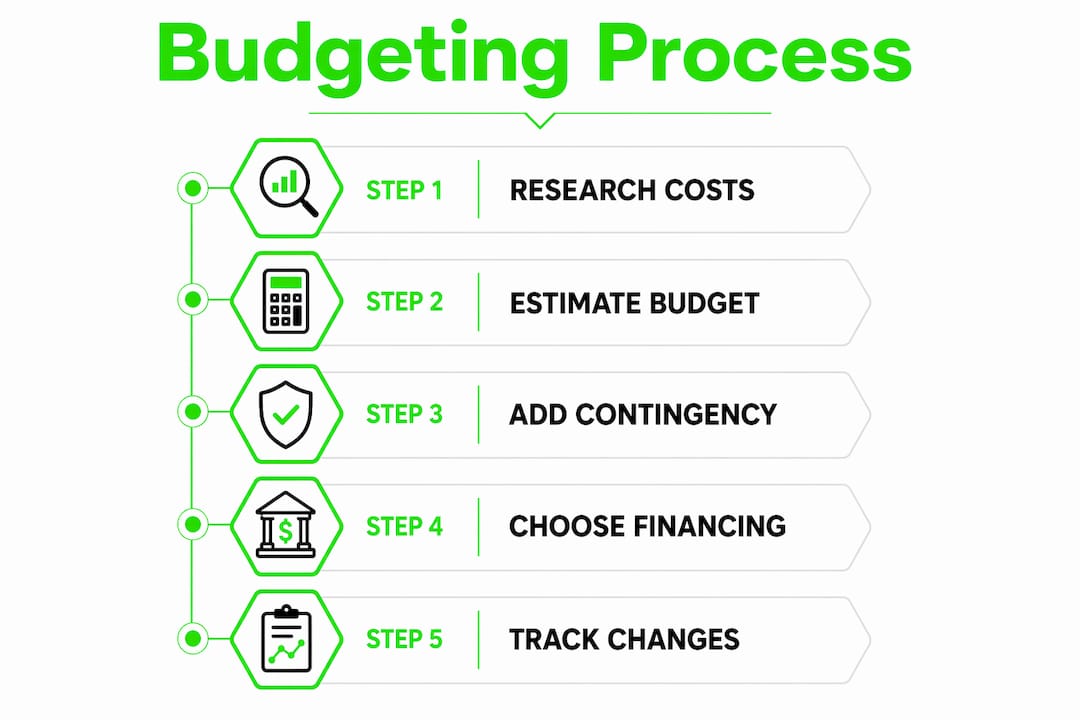
Set budget and contingency. Establish a realistic cost band and reserve 15–20% for surprises. Hidden conditions discovered during demolition commonly add $5,000–$25,000 to a project.
Hire a designer or architect. Commission schematic drawings that reflect your zoning constraints and program. A complete construction-ready plan with blueprints, elevations, and material selections produces the most accurate cost estimates.
Commission permit-ready drawings and structural engineering. Your designer and structural engineer produce stamped drawings, energy calculations, and a soils report if required.
Submit permits and respond to plan-check. Expect comments; respond with permit-ready revisions. Permitting is the gating item on your schedule.
Solicit contractor bids. Get at least two detailed bids and compare scope line by line. A lower bid often omits items you will later pay for as change orders.
Site preparation and foundation. Excavation, footings, and foundation work. Go/no-go checkpoint: foundation inspection must pass before framing begins.
Framing. Structural framing, sheathing, and roof work. Framing inspection required before enclosure.
Rough-in mechanical, electrical, and plumbing (MEP). All trades rough in before insulation and drywall. Rough-in inspections required.
Enclosure and finishes. Insulation, drywall, flooring, cabinetry, fixtures, and exterior cladding.
Final inspections and CO. Inspector signs off on all systems; the building department issues the Certificate of Occupancy.
Permit application document checklist: site survey, architectural drawings, structural calculations, energy compliance report, soils report (if required), proof of ownership, and HOA approval letter (if applicable).
Pro Tip: Confirm setbacks and FAR with the local zoning office before you pay for full permit-ready drawings. This single step prevents the most expensive redesigns.
For a detailed contractor-ready workflow, Djcustomcontracting’s published guides walk through each phase with local-code context.
What should you expect from permits, codes, and inspections?
Permitting is the gating item. Expect plan-check comments on the first submission and budget time to respond with revisions. Jurisdictions vary widely: permit timelines range from a few weeks to several months depending on complexity and local backlog.
Key permit types and required documents:
Building permit: Required for all structural additions; triggers the full plan-check cycle
Electrical, plumbing, and HVAC permits: Pulled separately by licensed trade contractors
Energy compliance documentation: Required in most U.S. jurisdictions (Title 24 in California; IECC elsewhere)
Soils report: Required when the addition involves new footings on uncertain soil
Historic or HOA approval: Required before permit submission in regulated districts
Common reasons for plan-check corrections: incomplete drawings, missing structural calculations, energy code noncompliance, and inadequate egress details. Submitting a complete, coordinated drawing set on the first attempt is the single best way to avoid a second review cycle.
Inspection sequence: foundation, framing, rough-in MEP, insulation, and final. Each inspection must pass before the next phase begins. Northeast U.S. owners can review permit types specific to their region for DOB and DOT filing guidance. NYC owners should also consult the NYC home addition checklist for borough-specific requirements.
To find your local building department portal and GIS zoning map, search “[your county or city] building department permit portal” or visit your municipality’s official website.
How do you estimate costs and choose a financing option?
Use three budget bands and always add 15–20% contingency. The contingency is not optional; it covers hidden moisture, undersized electrical service, and structural surprises that appear only after demolition begins.
Addition Type | Typical Cost Range (U.S.) | Primary Cost Drivers |
Bump-out | — | Foundation, MEP extensions, finishes |
Ground-floor addition | — | Foundation, framing, full MEP, finishes |
Second-story addition | — | Structural reinforcement, full MEP, roofing |
Garage conversion | — | Insulation, MEP upgrades, egress compliance |
Ranges are ballpark estimates for planning purposes only. Actual costs vary by location, site conditions, and finish level.
Top cost drivers: foundation and excavation work, structural reinforcement for second-story additions, MEP upgrades (especially electrical panel upgrades and HVAC extensions), high-end finishes, and accessibility or life-safety upgrades.
Financing options:
Cash or savings: No interest cost; best for smaller bump-outs
Home equity loan or HELOC: Fixed or variable rate against existing equity; common for mid-range projects
Renovation loan (FHA 203k or Fannie Mae HomeStyle): Wraps purchase and renovation into one loan; useful when buying and improving simultaneously
Construction-to-permanent loan: Funds construction draws, then converts to a mortgage; suited for large additions
To protect your contingency, require written change orders for every scope change before work begins. Verbal approvals are the fastest way to exhaust a contingency fund.
How do you select and contract with the right general contractor?

Hire for documented experience on similar additions and compare bids on scope, not just price. A contractor who has built second-story additions on occupied homes understands the scheduling and structural complexity in a way a general remodeler may not.
Contractor vetting checklist:
Valid state contractor’s license and proof of current general liability and workers’ compensation insurance
References from at least two similar addition projects completed in the past two years
A written project schedule with phase milestones
A recent portfolio showing comparable scope and finish quality
Sample interview questions: How many additions of this type have you completed? Who manages the permit process? How do you handle subcontractors? What is your change-order process?
Red flags: no written contract offered, an unusually low bid with vague scope, inability to provide a Certificate of Insurance (COI), and reluctance to provide references.
Essential contract clauses:
Fixed scope with a detailed exclusions list
Payment schedule tied to verified construction milestones
Retainage (typically 5–10%) held until final completion
Warranty terms for both labor and materials
Requirement for signed lien waivers upon each payment
Documents to collect at signing: COI, license number, signed contract, project schedule, and subcontractor list.
Pro Tip: Never release the final payment until you have the CO, all final lien waivers, and a written punch-list sign-off in hand.
What does a realistic construction timeline look like?
Small bump-outs typically take a few months from permit approval to CO. Medium ground-floor additions take several months. Large second-story or complex commercial additions may take many months. Design and permitting alone can consume several weeks to a few months before construction begins.
Phase | Typical Duration | Key Dependency |
Design and drawings | several weeks | Owner decisions on program and finishes |
Permitting and plan-check | several weeks to a few months | Jurisdiction backlog and drawing completeness |
Site prep and foundation | a few weeks | Weather, soil conditions, inspection schedule |
Framing and roofing | several weeks | Material lead times, crew availability |
Rough-in MEP | several weeks | Trade scheduling and inspection availability |
Insulation and drywall | a few weeks | Inspection sign-off on rough-ins |
Finishes and fixtures | several weeks | Material lead times, custom orders |
Final inspections and CO | a few weeks | Inspector availability and punch-list completion |
Common schedule risks: permit backlogs in dense urban jurisdictions, long lead times on windows and structural steel, seasonal weather delays affecting foundation work, and hidden damage discovered during demolition. Mitigate disruption by establishing a clear communication cadence with your contractor (weekly updates minimum), staging living areas away from the work zone, and arranging temporary utilities before demolition begins.
How do you close out the project correctly?
Do not make final payment until major punch-list items are resolved and required documentation is in hand. A final walkthrough with a written checklist protects you from paying for incomplete work.
Final walkthrough checklist:
All fixtures, switches, and outlets tested and functioning
Finishes (paint, flooring, tile) complete and free of visible defects
MEP systems tested: HVAC heating and cooling, plumbing pressure, electrical panel labeled
Exterior grading slopes away from the foundation; drainage is clear
Site cleanup complete; all debris removed
CO issued and posted; all permit cards closed
Documenting punch-list items:
Photograph each deficiency with a timestamp
List items in writing and share with the contractor
Set a written remedy deadline (typically 10–14 days per item)
Confirm completion in writing before releasing retainage
Warranty basics: contractor labor warranties typically run one year; structural warranties may run longer depending on the contract. Manufacturer warranties on windows, roofing, and HVAC equipment are separate and require product registration. Keep all receipts, photos, and warranty cards in a single project file to preserve claims.
Key Takeaways
A successful addition requires zoning verification, a 15–20% contingency budget, permit-ready drawings, and a vetted contractor before construction begins.
Point | Details |
Zoning check comes first | Confirm setbacks, lot coverage, and FAR before paying for any drawings. |
Budget with contingency | Add a contingency above your base estimate; hidden conditions can add significant unexpected costs to a project. |
Permit-ready drawings matter | Complete blueprints and material selections produce accurate bids and fewer construction delays. |
Compare bids on scope | Solicit at least two detailed bids and evaluate scope line by line, not just the bottom-line price. |
Djcustomcontracting | Has managed additions, DOB/DOT compliance, and permit coordination for residential and commercial owners since 2018. |
What contractors wish every owner knew before breaking ground
The single thing that smooths an addition project more than anything else is an owner who has done the zoning homework before the first design meeting. Skipping that step is the most common reason projects stall. A designer produces drawings, the permit application goes in, and then the zoning office flags a setback violation or an FAR overage that forces a complete redesign. That sequence can add three to four months and significant cost to a project that was otherwise well-planned.
Scope clarity matters just as much on the contractor side. When an owner has made finish decisions before framing begins, the project moves in a straight line. When those decisions happen mid-construction, every trade has to pause and reschedule. The cost of indecision shows up in change orders, not in the original contract.
Djcustomcontracting has been navigating these exact challenges since 2018, handling additions and alterations alongside DOB and DOT compliance work for residential and commercial clients. The projects that go smoothly share one trait: the owner treated planning as the real work, not a formality before the real work.
Djcustomcontracting handles additions from first permit to final walkthrough
Djcustomcontracting offers full general contracting services for residential and commercial additions, covering permit coordination, structural work, MEP integration, and interior and exterior finishes under one contract.

From DOB filing to CO, the team manages the permit process, coordinates licensed trade subcontractors, and keeps the project on schedule. Business owners planning a commercial expansion can review commercial renovation services to understand the full scope available. Homeowners ready to move forward can reach out directly through the addition contractor service page to schedule a plan review or request an estimate. No project is too large or too small.
Useful resources for permits, zoning, and local code research
Your local building department is the most reliable starting point for permit requirements, zoning maps, and application forms.
Step-by-Step Guide to Building Home Additions — Djcustomcontracting’s contractor-focused walkthrough with checklists
NYC Home Addition Checklist — DOB filing workflow and borough-specific permit guidance
Northeast Permit Types Guide — Regional permit type explanations for Northeast U.S. owners
Build With A Plan: Home Addition Guide — Planning sequence and contingency guidance
Hopkins & Porter: Addition Timeline Guide — Realistic phase durations and schedule expectations
To find your local permit portal, search “[your city or county] building department” and look for the permits or development services section. Most jurisdictions also publish a GIS zoning map where you can look up your parcel’s zoning designation, setbacks, and FAR limits before your first design meeting.
Recommended


Comments